Vanilla Scones

Vanilla Scones 1

For our Scottish themed book group meeting, I made a variety of different Scottish foods, more of which I will share here shortly.

Scottish (or English) scones are a light, tender biscuit that can be adapted to many different flavors. Scones can be a savory food or a dessert. Or breakfast, or a snack, or just about anything you want them to be.

These vanilla scones, while not sweet themselves, are more of a dessert food. Especially if you serve them with Clotted Cream (or whipped cream) and jam. They also make a great base for Strawberry Shortcake.

I served them with a Homemade Clotted Cream (made in an Instant Pot) and Homemade Red Raspberry Jam and Cinnamon Pear Jam.

Vanilla Scones 3

Scones can also easily be frozen either before or after baking.

To freeze before baking: Prepare scone dough. Cut out scones and place on a baking sheet lined with foil. DO NOT brush with egg wash. Freeze until firm. Place into Ziploc bag or freezer container and store in freezer. Place frozen scones on a baking sheet lined with parchment paper or silicone mat. Let sit at room temperature for 30 minutes. Brush tops of scones with egg wash. Bake at 400°F for 16-18 minutes.

To freeze after baking: Prepare and bake scones. Cool completely and place on a baking sheet lined with foil. Freeze until firm. Place into Ziploc bag or freezer container and store in freezer. Place frozen scones on a baking sheet lined with parchment paper or silicone mat. Let sit at room temperature for 30 minutes. Bake at 300°F for 10-12 minutes.

RECIPE:

Vanilla Scones

Vanilla Scones 1

2 cups flour
2 Tbs sugar
2 tsp baking powder
½ tsp salt
6 Tbs unsalted butter
½ cup buttermilk
2 Tbs heavy cream
1 egg
1 tsp vanilla extract
1 vanilla bean, split and seeds scraped (optional)
Egg Wash: 1 egg + 1 Tbs cream

Clotted Cream and Jams, to serve

Preheat oven to 400°F. Line a baking sheet with parchment paper or silicone mat.

In a large bowl, mix flour, sugar, baking powder, and salt. Cut cold butter into dry ingredients until mixture resembles coarse crumbs. **SEE NOTE BELOW

In a separate bowl or Pyrex measuring cup, mix together buttermilk, 2 Tbs cream, egg, vanilla extract, and vanilla bean seeds. In a small bowl, mix together egg wash and set aside.

Make a well in the dry ingredients and pour in buttermilk mixture. Use a rubber spoon to gently mix, until most of the dry ingredients are mixed in.

Turn dough out onto a flour coated surface and pat and/or roll dough to about 3/4” thick. Use a scone or biscuit cutter to cut into rounds. Place on prepared baking sheet. Gently reroll scraps to make additional scones.

Brush tops of scones with egg wash. Bake for 15-18 minutes, or until golden brown.

Serve scones with clotted cream and jam.

**NOTE: To easily cut butter into dry mixture, freeze one stick of butter for 30 minutes. Fold back the paper wrapper to the 6Tbs mark and use the coarse blades of a cheese grater to grate the butter directly into the dry ingredients. Use a rubber spatula to fold butter shreds into mixture.

Yield: about 12 scones

**TO FREEZE SCONES:

Scones can be frozen either before or after baking.

To freeze before baking: Prepare scone dough. Cut out scones and place on a baking sheet lined with foil. DO NOT brush with egg wash. Freeze until firm. Place into Ziploc bag or freezer container and store in freezer. Place frozen scones on a baking sheet lined with parchment paper or silicone mat. Let sit at room temperature for 30 minutes. Brush tops of scones with egg wash. Bake at 400°F for 16-18 minutes.

To freeze after baking: Prepare and bake scones. Cool completely and place on a baking sheet lined with foil. Freeze until firm. Place into Ziploc bag or freezer container and store in freezer. Place frozen scones on a baking sheet lined with parchment paper or silicone mat. Let sit at room temperature for 30 minutes. Bake at 300°F for 10-12 minutes.

NoEmptyChairs.me

Leave a comment

Filed under Breads, Breakfast/Brunch, Desserts

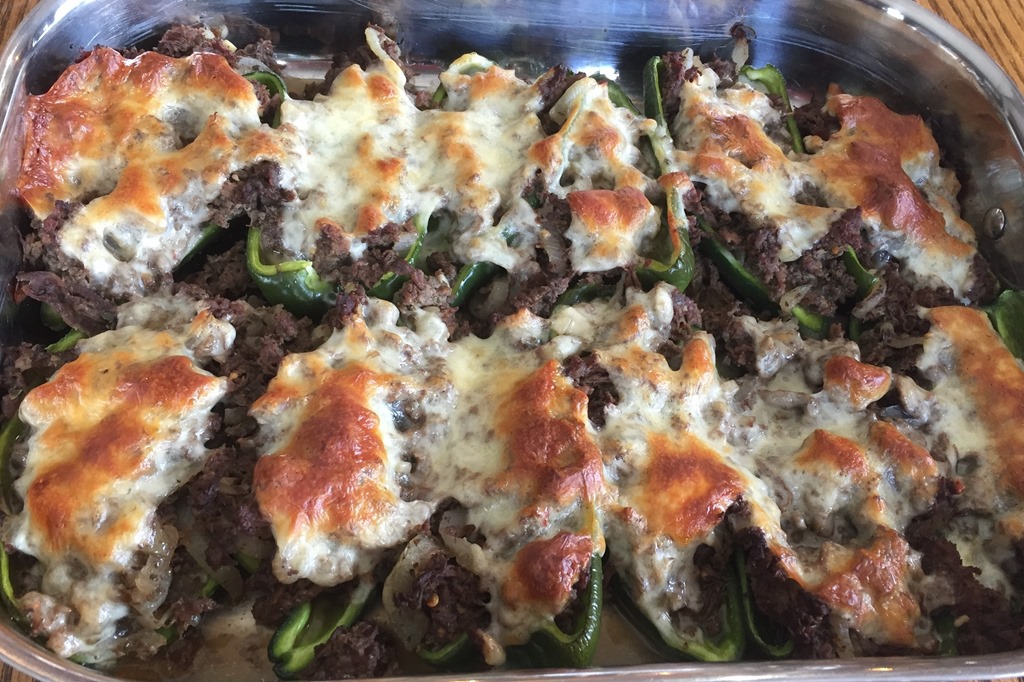
Cheesesteak Stuffed Poblano Peppers

Cheesesteak Stuffed Peppers 2

Whether you are eating low-carb, or gluten-free, or just want a delicious dinner that the whole family will love, this recipe fits the bill. The only ingredient some of my family object to is the mushrooms, but if I chop them finely enough, they don’t even know they’re there.

And if you buy pre-sliced beef, you can have this on the table in under an hour.

Shaved Beef Steak

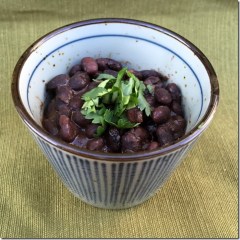
I like to serve this with Chipotle Black Beans and Green Chili Cilantro Rice.

Chipotle Black Beans 2  Green Chili Cilantro Rice

.

Cheesesteak Stuffed Peppers 4

RECIPE:

Cheesesteak Stuffed Poblano Peppers

Cheesesteak Stuffed Peppers 2

2 Tbs butter
1 large onion, diced
8 oz mushrooms, chopped (optional)
3 cloves garlic, minced
1-2 jalapenos, finely diced
2 lb thinly sliced beef
2-3 tsp Montreal Steak seasoning
1 tsp garlic powder
½ tsp salt
4 large poblano peppers
Provolone cheese and/or mozzarella cheese

Preheat oven to 400°F. Lightly spray a 9×13” baking dish with olive oil spray.

Melt butter in a large skillet. Add chopped onion, mushrooms, garlic, and jalapenos to the skillet and sauté until softened. Add beef to skillet and cook over medium-high heat until beef is cooked through. Stir in steak seasoning, garlic powder, and salt. Cook for an additional 5 minutes, or until most of the liquid has evaporated.

Cut poblano peppers in half lengthwise. Remove seeds and place in baking dish. Sprinkle peppers lightly with salt. Place a slice of cheese, or small amount of shredded cheese, in each pepper. Spoon cooked beef mixture into the peppers. Top each pepper with additional cheese.

Bake for 20-25 minutes or until cheese is golden brown.

NoEmptyChairs.me

2 Comments

Filed under Main Dishes

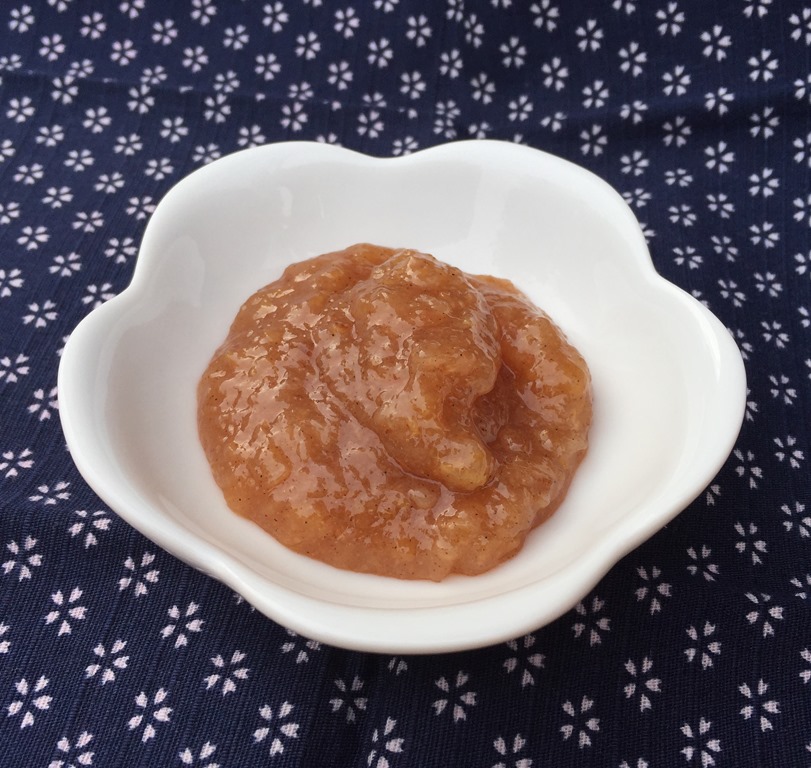
Low Sugar Cinnamon Vanilla Pear Jam

Cinnamon Vanilla Pear Jam

Canning is generally a summer sport. Summer harvests mean you usually have to spend the hottest days of the year blanching fruit, stirring boiling pots, and having steam from a boiling water bath canner fill the kitchen with heat and humidity.

Do you ever wish that you could do your canning in the middle of the winter, when a little extra heat and humidity would be most welcome? I can’t get rid of all of that summer canning, but here is one recipe that is perfect to make on a cold, snowy day. And it will make your house smell truly heavenly.

Pears make a wonderful jam and are an easy fruit to work with any time of year. Most varieties have thin skins, so you don’t need to peel them, and you can chop them quickly in a food processor.  This jam is also flavored with cinnamon and vanilla, which makes it easy and amazingly delicious!

I use a combination of sugar and stevia to make a lower sugar jam that doesn’t compromise on flavor. You could add additional sugar if you don’t want to use the stevia.

And it’s not just for toast: try stirring it into some plain yogurt or spreading on some homemade pancakes for a delicious breakfast or snack.

RECIPE:

Cinnamon Vanilla Pear Jam (Low-Sugar)

Yield: 6 half-pint jars

Cinnamon Vanilla Pear Jam

8-10 ripe medium-sized pears (about 4 lb)
1 Tbs lemon juice
2 ¼ cups sugar, divided
1 box low-sugar pectin
½ tsp liquid stevia
1 tsp ground cinnamon
2 vanilla beans, split and scraped; or 2 tsp vanilla extract

Prepare equipment: sterilize half-pint jars, lids, and canning equipment (ladle and funnel). Prepare a boiling water bath.

Wash and core the pears, but do not peel. Finely chop or coarsely mash to yield 7 cups fruit. (I use a food processor to finely chop/mash the pears). Stir in lemon juice.

In a small bowl, combine ¼ cup of the sugar with the box of pectin. Mix well and set aside.

In a large pot, combine the chopped pears, remaining 2 cups sugar, stevia, cinnamon and vanilla beans (both seeds and pods), if using. Bring to a full rolling boil over medium-high heat. Reduce heat to medium (maintain a low but continuous boil), and boil for 10 minutes, stirring occasionally. Stir in sugar/pectin mixture and vanilla extract, if using. Return jam to a full boil and boil for an additional 5 minutes. Remove vanilla bean pods and discard.

Remove jam from heat and let sit for 3-4 minutes. Stir jam. Ladle hot jam into prepared jars. Wipe top edges of jars with a damp cloth. Add lids and rings. Place in a boiling bath canner and when pot has returned to a full boil, process jars for 10 minutes. Remove jars from canner and place on a towel on kitchen counter. Let sit for 24 hours. Check seals before placing on pantry shelf.

NOTES:

  • Use thin-skinned pears like Bartlett, d’Anjou, or Comice
  • Stevia brands can vary in sweetness. Taste jam before adding pectin and adjust sugar to taste.
  • Use either the vanilla beans or the vanilla extract, not both
  • Letting the jam sit for a few minutes before ladling into jars helps to reduce foam and keep the fruit chunks from settling to the bottom of the jars.

NoEmptyChairs.me

Leave a comment

Filed under Canning/Freezing

9th Annual Twelve Days of Christmas Cookies Recap

Here is a list of the twelve cookies from this year. I hope that you all enjoy the rest of this Christmas season with family and friends.

Scroll to the bottom for links to the previous 8 years of cookies.

Almond-Toffee-Sandies-3_thumb1

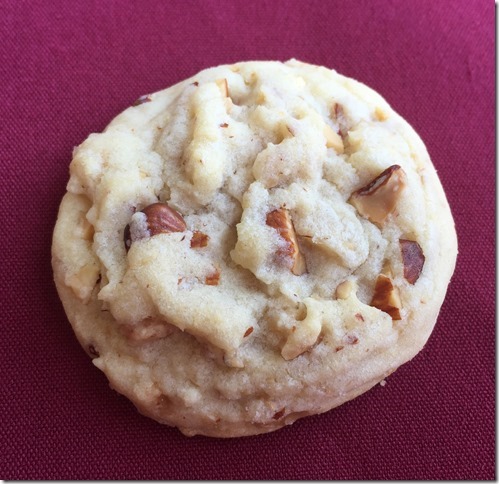
DAY 1: Almond Toffee Sandies

Cream Cheese Chocolate Chip Cookies_thumb[2]

DAY 2: Cream Cheese Chocolate Chip Cookies

Brown-Sugar-Cinnamon-Squares-1_thumb

DAY 3: Brown Sugar Cinnamon Squares

Roasted Spiced Pecans_thumb[1]

DAY 4: Roasted Spiced Pecans

Chocolate Thumbprints_thumb[2]

DAY 5: Chocolate Thumbprints with Homemade Caramel Filling

Chewy-Pecan-Cheesecake-Cookies_thumb[3]

DAY 6: Chewy Pecan Cheesecake Cookies

Almond-Butter-Cookies-1_thumb2

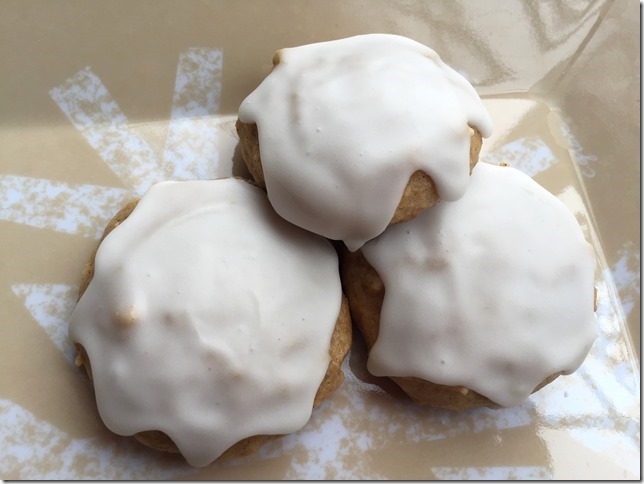
DAY 7: Glazed Almond Butter Cookies

German-Lebkuchen_thumb2

DAY 8: German Lebkuchen

Lemon-Cake-Mix-Cookies_thumb2

DAY 9: Lemon Cake Mix Cookies

Salted Caramel Bars_thumb[2]

DAY 10: Salted Caramel Bars

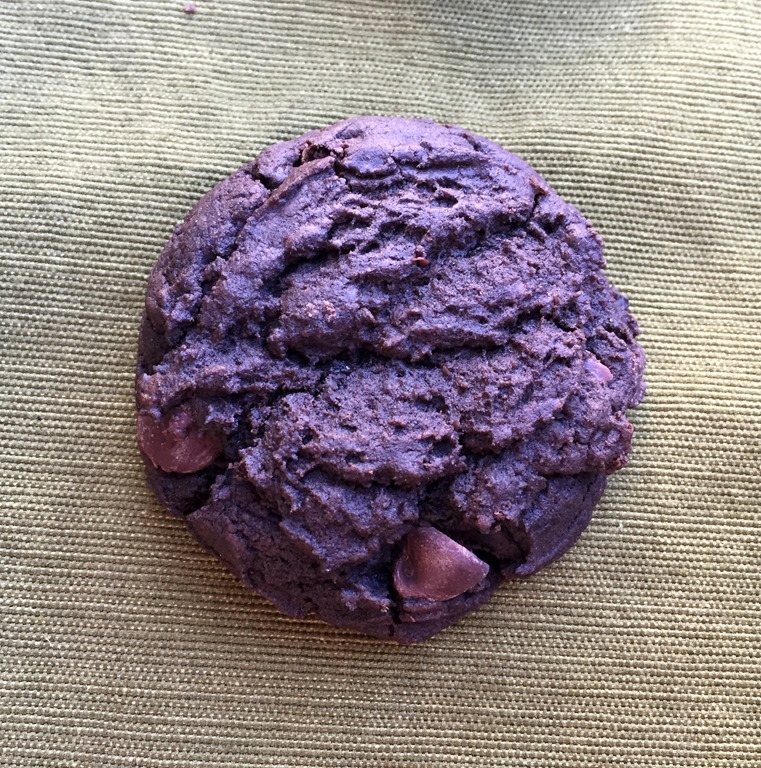
Dark Chocolate Cream Cheese Cookies 2_thumb[3]

DAY 11: Dark Chocolate Cream Cheese Cookies

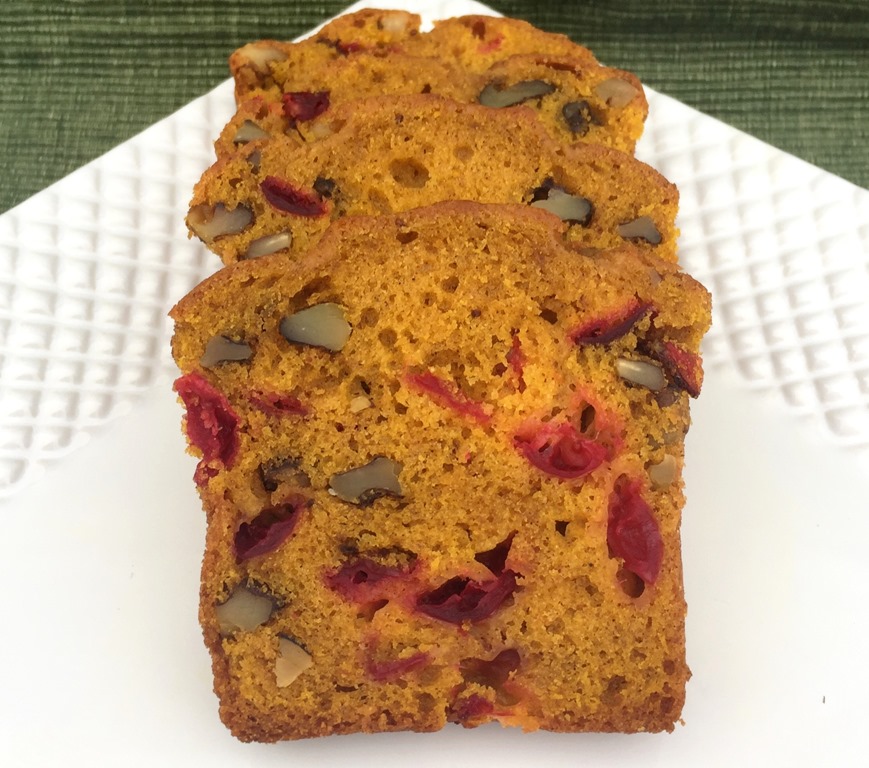
Pumpkin Cranberry Bread 2

DAY 12: Pumpkin Cranberry Bread

Lots More Christmas Cookies and Treats:

1st Annual Twelve Days of Christmas Cookies (2009)

2nd Annual Twelve Days of Christmas Cookies (2010)

3rd Annual Twelve Days of Christmas Cookies (2011)

4th Annual Twelve Days of Christmas Cookies (2012)

5th Annual Twelve Days of Christmas Cookies (2013)

6th Annual Twelve Days of Christmas Cookies (2014)

7th Annual Twelve Days of Christmas Cookies (2015)

8th Annual Twelve Days of Christmas Cookies (2016)

3 Comments

Filed under Cookies, Desserts

Twelve Days of Christmas Cookies (and other stuff): Pumpkin Cranberry Bread

Pumpkin Cranberry Bread 2

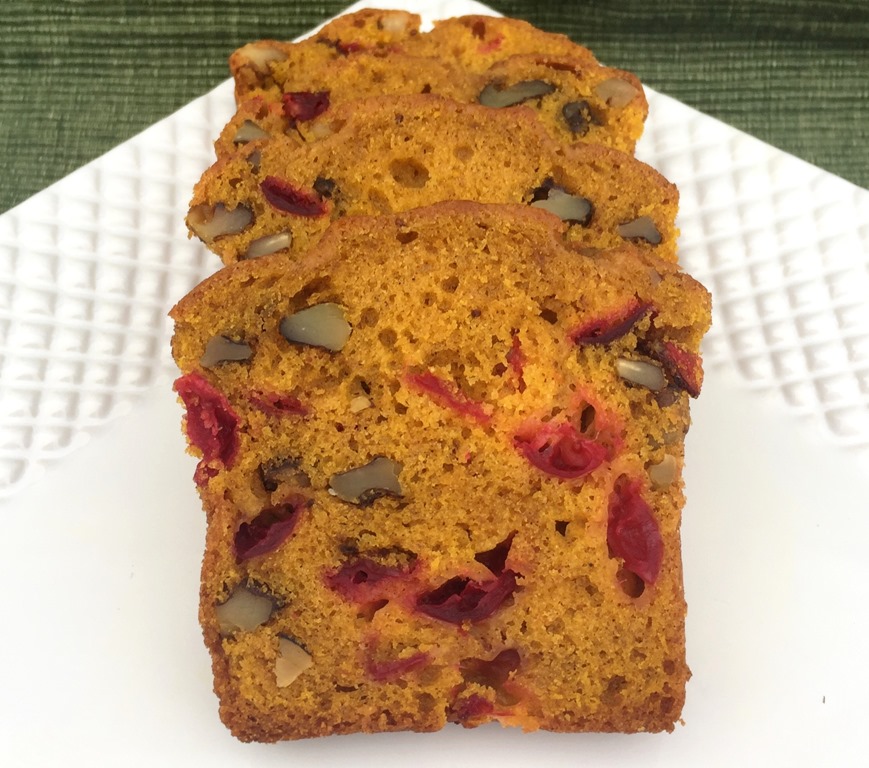
DAY 12 : Pumpkin Cranberry Bread

A delicious quick bread that makes great gifts for friends and neighbors. It is also great spread with a little cream cheese before eating.

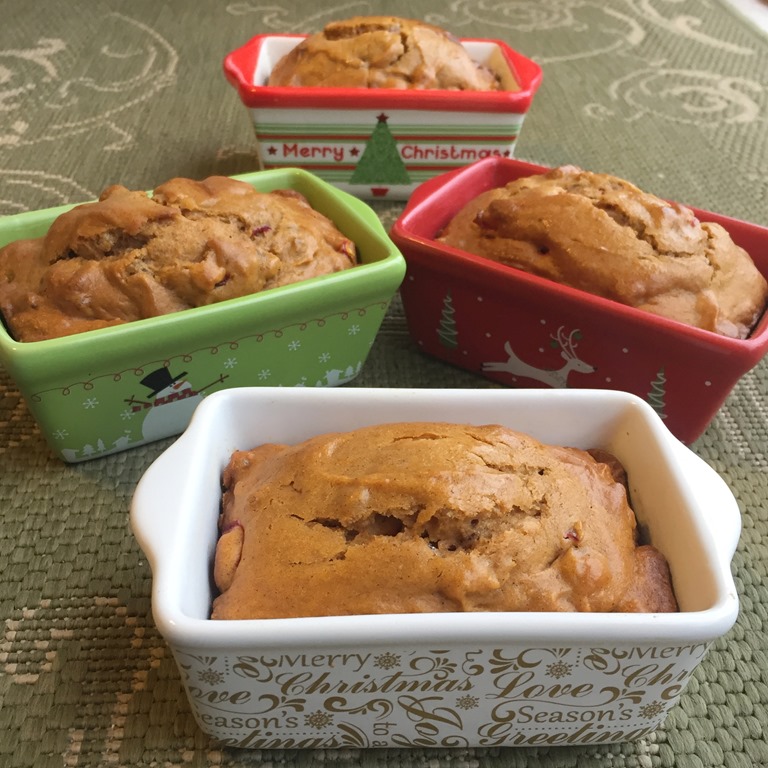
Pumpkin Cranberry Bread Pans 1

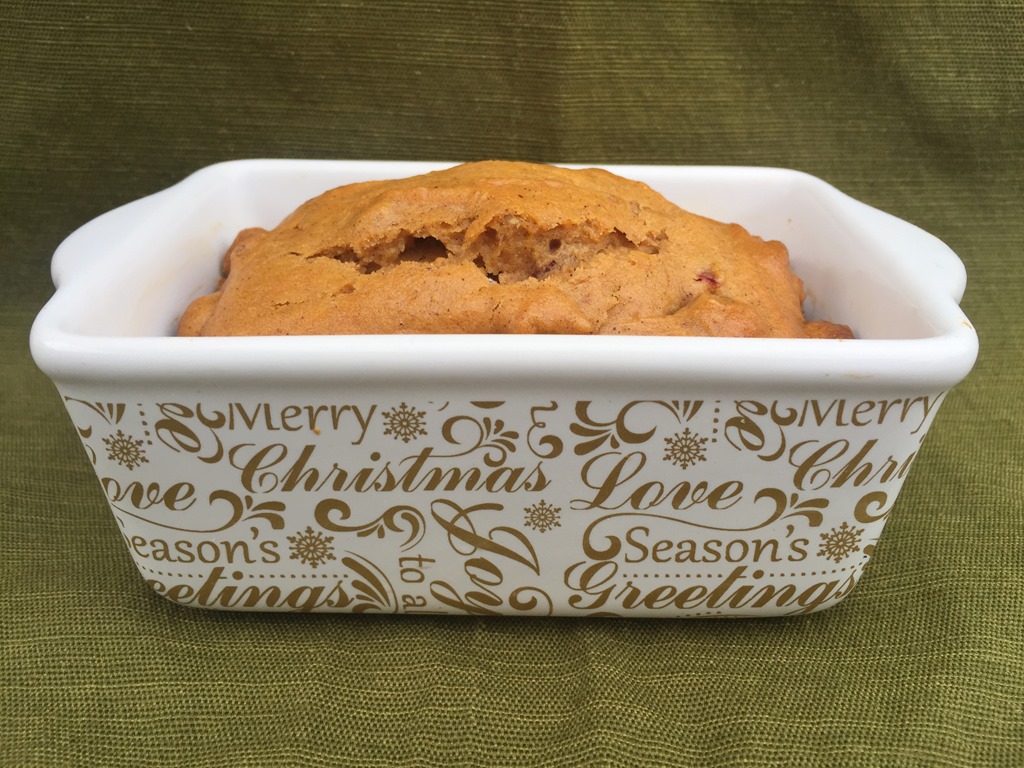
Dollar stores and Michaels often sell cute Christmas mini-loaf pans that you can bake these in. Then you can give the cute little pan to neighbors along with the bread.

Pumpkin Cranberry Bread Pan

RECIPE:

Pumpkin Cranberry Bread

Yield: 2 regular loaves or 5-6 mini-loaves

Pumpkin Cranberry Bread 2

4 eggs
1 ½ cups sugar
1 cup vegetable oil
1 tsp vanilla
1 can (16oz) pumpkin puree
3 cups flour
1 tsp baking soda
2 tsp baking powder
2 tsp cinnamon
½ tsp ground ginger
¼ tsp nutmeg
1 tsp salt
2 cups chopped fresh cranberries
1 cup chopped walnuts

Preheat oven to 350°F. Grease and flour two regular loaf pans (or 6-8 mini loaf pans), or spray with Baking Pam.

Beat eggs, sugar, oil, vanilla, and pumpkin until well mixed.

Whisk together flour, baking soda and powder, cinnamon, ginger, nutmeg, and salt.  Stir into pumpkin mixture. Fold in chopped cranberries and walnuts.

Spoon batter into prepared pans. Fill mini loaf pans about 2/3 full.

For regular loaf pans: bake for 60 minutes
For mini-loaf pans: bake for 35-45 minutes

Bake until top of loaf springs back when touched gently (or toothpick comes out clean). Check bread after about 30 minutes: cover loosely with foil if it is beginning to brown too quickly.

NoEmptyChairs.me

Leave a comment

Filed under Breads, Breakfast/Brunch, Desserts

Twelve Days of Christmas Cookies: Dark Chocolate Cream Cheese Cookies

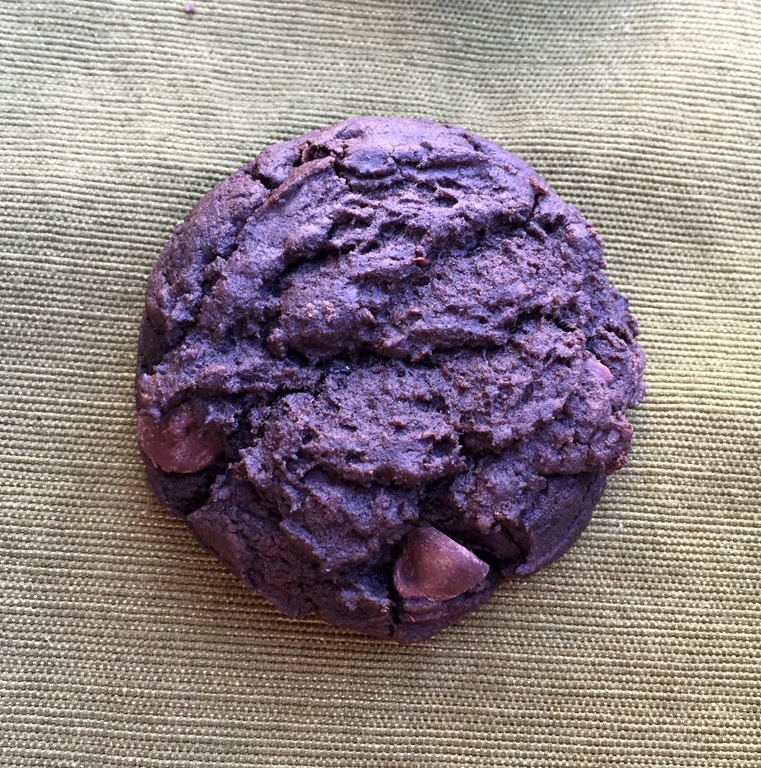
Dark Chocolate Cream Cheese Cookies 2

DAY 11: Dark Chocolate Cream Cheese Cookies

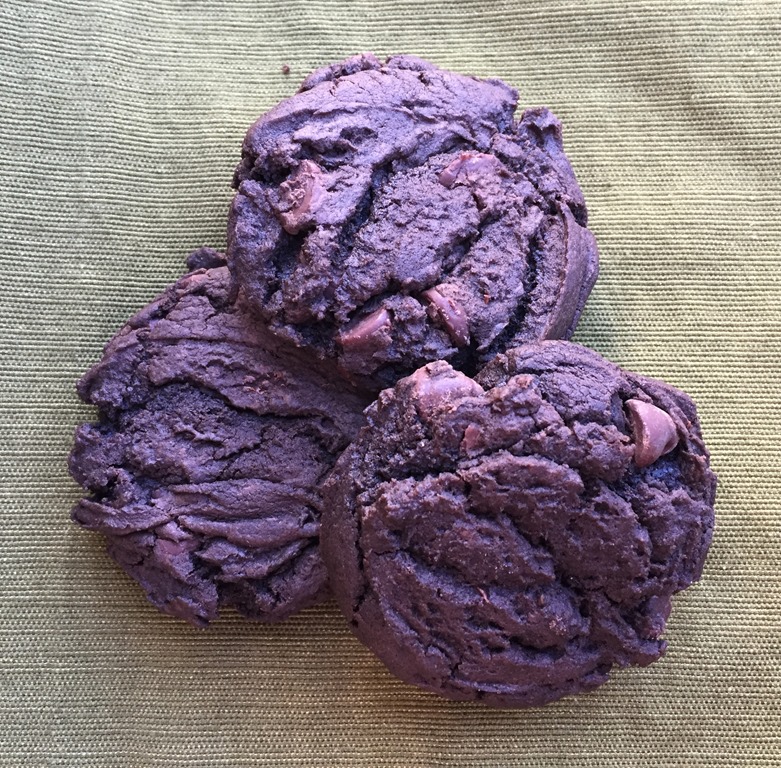
Rich, dark chocolate cookies studded with chocolate chips. Cream cheese (I think this may be a theme this year) keeps them soft and chewy. For the chocolate lover.

Dark Chocolate Cream Cheese Cookies 1

RECIPE:

Dark Chocolate Cream Cheese Cookies

Dark Chocolate Cream Cheese Cookies 2

1 cup unsalted butter, softened
4 oz cream cheese, softened
1 ½ cups light brown sugar
½ cup sugar
2 large eggs
1 Tbs vanilla extract
3 ½ cups flour
½ cup Hershey’s special dark cocoa powder
2 Tbs cornstarch
2 tsp baking soda
1 tsp salt
2 cups chocolate chips

Preheat oven to 350°F.  Line baking sheets with parchment paper or silicone liners.

In a large mixing bowl, beat the butter, cream cheese, and sugars until light and fluffy. Beat in eggs and vanilla.

Stir together the flour, cocoa, cornstarch, baking soda, and salt. Beat into wet ingredients. Mix in the chocolate chips. Chill dough for 20-30 minutes.

Drop by tablespoonfuls onto baking sheets. Bake for 8-9 minutes, or until barely set. Cookies will continue to set as they cool.  Cool on baking sheet for about 5 minutes before moving to a wire rack.

NoEmptyChairs.me

Leave a comment

Filed under Cookies, Desserts