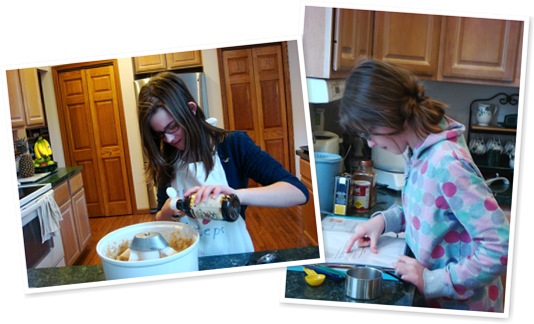
DAY 8: This bar cookie has been a long time favorite at our house. The recipe is from a Better Homes and Gardens Cookbook that I received as a wedding gift more than 20 years ago.
A layer of rich chocolate fudge sandwiched between oat-filled cookie layers: what more could you ask for in a cookie bar?

RECIPE:
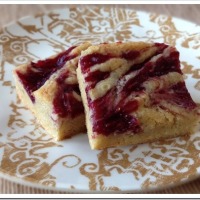
Chocolate Revel Bars

1 cup butter
2 ½ cups flour (white or whole wheat)
2 cups brown sugar
2 eggs
4 tsp vanilla, divided
1 tsp baking soda
3 cups rolled oats
1 ½ cups chocolate chips
1 can (14 oz) sweetened condensed milk
2 Tbs butter
½ cup chopped walnuts
Preheat oven to 350°F.
Beat 1 cup butter with mixer for 30 seconds. Add 1 ½ cups of the flour, the brown sugar, eggs, 2 tsp vanilla, and baking soda. Mix thoroughly. Beat in remaining 1 cup flour. Stir in oats.
In a saucepan, combine chocolate, sweetened condensed milk, and 2 Tbs butter. Cook over low until chocolate melts. Remove from heat. Stir in walnuts and 2 tsp vanilla.
Press 2/3 of the oat mixture into the bottom of an ungreased 15x10x1” baking pan. Spread chocolate mixture over oat mixture. Using your fingers, dot remaining oat mixture over chocolate.
Bake for 25 minutes, or until top is lightly browned (chocolate layer will still look underdone). Cool completely before cutting into 2-inch squares.
Makes about 3 dozen bars (2” square).
Recipe from Better Homes and Garden Cookbook
NoEmptyChairs.me
TWELVE DAYS OF CHRISTMAS COOKIES (2010) RECAP:
DAY 1: Raspberry Crumb Bars
DAY 2: Pumpkin Snickerdoodles
DAY 3: Chocolate Nutella Cookies
DAY 4: Glazed Lemon Poppy Seed Cookies
DAY 5: Almond Macaroon Brownies
DAY 6: Trail Mix Cookies
DAY 7: Cream Cheese Cut-Out Cookies