Instant Pot Chicken Stock/Bone Broth

Instant Pot Chicken Bone Broth

Making your own Chicken Stock or Bone Broth is simple and inexpensive using an electric pressure cooker, or Instant Pot.

You can start with raw or cooked chicken carcasses. I usually serve 2 rotisserie baked chickens (Yes-the precooked ones from Costco) to my family for dinner one night, and then use the 2 carcasses to make bone broth the next day.

If you are using a raw chicken with all of the meat still on the bones, cook for 60 minutes, then remove chicken from bones and set meat aside. Return bones to Instant Pot and cook again for another 60 minutes.

I freeze the bone broth in 1 or 2 cup containers to use in recipes later.

What’s the difference between chicken stock and chicken bone broth? In terms of preparation and cooking: just time cooked. In terms of taste and nutrition: bone broth is deliciously rich with all of the nutritional benefits of bone marrow. When refrigerated, the bone broth will become slightly gelatinous. I always go for the extra time and make bone broth.

Up Next: Chicken Noodle Soup made from homemade bone broth:

Chicken Noodle Soup 2

RECIPE:

Instant Pot Chicken Stock/Bone Broth

  • Servings: Makes about 12 cups
  • Print

Instant Pot Chicken Bone Broth

1-2 chicken carcasses, cut up **(See Note)
1 onion, quartered
1 carrot, cut into quarters
1 stalk celery, with leaves, cut into quarters
4 whole cloves of garlic
2 bay leaves
2-3 sprigs of fresh herbs (thyme, oregano, parsley, sage, etc.)
1 Tbs kosher salt
1 tsp whole peppercorns
1 Tbs apple cider vinegar
Approximately 12 cups of water

Place cut chicken into pot of the Instant Pot. Add vegetables, herbs, seasonings, and vinegar. Fill with water to 1” below the Max line (in my Instant Pot, this is the 4L line).

Place lid on Instant Pot and close valve. Cook on High Pressure:
-Cook on high pressure for 60 minutes for chicken stock
-Cook on high pressure for 120 minutes for bone broth

Allow pressure to release naturally (NPR) for at least 30-60 minutes.

Cool slightly, and then strain bones and seasonings from broth. Divide into containers and refrigerate or freeze until ready to use.

Note on chicken: You can use raw or cooked chicken carcasses. I usually serve 2 rotisserie baked chickens to my family for dinner one night, and then use the 2 carcasses to make bone broth the next day. If you are using a raw chicken with all of the meat still on the bones, cook for 60 minutes, then remove chicken from bones and set meat aside. Return bones to Instant Pot and cook again for another 60 minutes.

NoEmptyChairs.me

Leave a comment

Filed under Instant Pot, Main Dishes, Soups/Stews/Curries

Lemon Chicken Piccata Stir-Fry

2018-04-07 17.52.01

This simple chicken stir-fry is perfect for a last minute meal. You can easily have it on the table in less than 30 minutes. Flavored with fresh lemon slices and tarragon this is a wonderfully light meal that can be served over rice or a bed of steamed vegetables.

A traditional lemon chicken piccata is made with a similar sauce, but the chicken is kept whole, usually pounded thin. This recipe preserves those flavors, but with quick-cooking thin sliced chicken.

2018-04-07 17.50.33

In full disclosure, this meal is not enjoyed by everyone in our family. Five of us absolutely love it, but two don’t really like it  (and one of those is my husband). They are not fans of “fruity” main dishes, even lemon, which I don’t understand because the lemon adds no sweetness. Since my husband isn’t a big fan, I usually wait until he is out of town or has another dinner commitment to make it. The other kids love it so much, though, that they will start asking when Dad is going out of town again so that we can eat Chicken Piccata.

RECIPE:

Lemon Chicken Piccata Stir-Fry

2018-04-07 17.52.01

4 chicken breasts, cut into thin strips
¼ cup butter
2 Tbs flour
2 tsp tarragon
1 tsp salt
¼ tsp black pepper
1 lemon, sliced (remove seeds)
2 cups chicken broth
1 Tbs chopped fresh parsley (or 1 tsp dried)

Hot cooked rice or steamed vegetables, for serving

Melt butter in a hot skillet. Add chicken slices. Sprinkle with flour, tarragon, salt and pepper. Cook for 5 minutes. Add sliced lemon. Cook until lemon starts to slightly wilt and chicken is cooked through. Stir in chicken broth, stirring to loosen browned bits. Cook for 2-3 minutes until thickened and lemons have leeched most of their juice. Stir in parsley.

Remove lemon slices and serve chicken piccata over hot steamed rice or steamed vegetables.

NoEmptyChairs.me

Leave a comment

Filed under Main Dishes

Hearty Beef Minestrone Soup

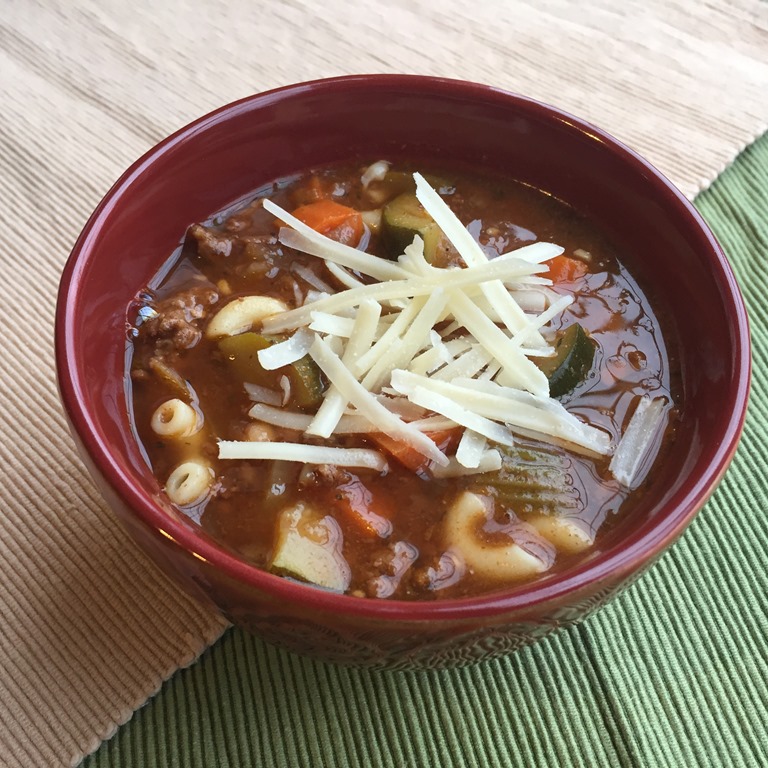
Minestrone Soup 1

As a polar vortex takes hold of the country, there is nothing more comforting than a bowl of hearty beef minestrone soup and warm homemade bread.

Chock-full of tender ground beef, vegetables, beans, and pasta, this soup is very filling and is especially good topped with freshly grated Parmesan cheese.

Minestrone Soup 3

Some of us here are avoiding pasta these days, so I sometimes cook the pasta separately and let people add it to their soup when they dish it up.

This soup also freezes wonderfully. So make a big crock-pot full and set some aside to eat another day. The one thing you need to do when freezing this soup is to freeze the soup WITHOUT the pasta stirred in. Freeze the cooked pasta separately and add the pasta when you reheat the soup. If you freeze the pasta in the soup, it will be mushy when you reheat it.

Minestrone Soup 4

For a delicious bread to serve with your soup, try one of these recipes:

Whole Wheat Bread, or Rolls:

Whole Wheat Bread

Crescent Dinner Rolls:

Crescent Rolls 2


RECIPE:

Hearty Minestrone Soup

Minestrone Soup 3

2 Tbs olive oil
1-2 lb ground beef (use 2 lb for a thick soup)
1 large onion, chopped
3 garlic cloves, minced
6-8 cups beef broth
1 can Rotel tomatoes
1 can white beans, drained
1 small can (6oz) tomato paste
1 bay leaf
1 Tbs Italian seasoning
1 tsp salt
1 tsp Kitchen Bouquet or beef bouillon base
½ tsp fresh ground pepper
1 large carrot, diced
2 celery stalks, chopped
2 cups finely shredded cabbage
1 medium zucchini, diced
1 cup small pasta shapes
Freshly grated Parmesan cheese, for garnish

In a large pot, brown ground beef in olive oil; drain excess fat. Add onion and garlic to the pot and cook until tender. Add broth, Rotel tomatoes, beans, tomato paste, bay leaf, Italian seasoning, salt and pepper, carrots, celery, and cabbage. Bring to a boil; simmer 30 minutes. Add zucchini and cook 10 minutes. Add pasta and cook about 10 minutes, just until pasta is tender. Add additional water if soup is too thick. Remove bay leaf. Taste and add additional salt, if needed. Serve with freshly grated Parmesan cheese.

To cook in crock pot: Brown ground beef, onions, and garlic as above. Place in crock pot. Add remaining ingredients (except for Parmesan) and cook on low for about 8 hours. Turn to high heat, add pasta, and cook until pasta is tender, about 30 minutes.

To freeze soup: Prepare as above, but do not add pasta. Place in freezer containers and freeze. Cook pasta separately in water. Drain, cool, and freeze pasta separately. Add cooked pasta to soup after thawing and reheating.

NoEmptyChairs.me

1 Comment

Filed under Main Dishes, Soups/Stews/Curries

Top Twelve Days of Christmas Cookies (Honorable Mentions)

These cookies did not make the Top 12, but were close runners-up. If you are looking for more baking ideas, these are sure to please! Also included are some of our favorite Christmas candies.

Honorable Mentions:


Chocolate Walnut Puddle Cookies

Chocolate Walnut Puddle Cookies

Christmas Fortune Cookies

Christmas Fortune Cookies

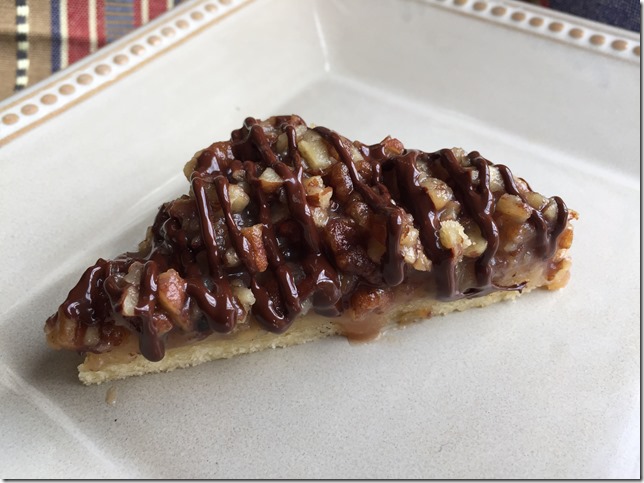
Almond Toffee Triangles

Almond Toffee Triangles

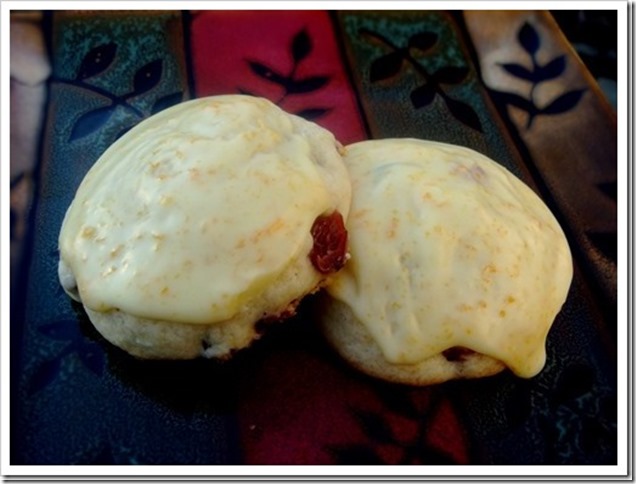
Cranberry Orange Buttermilk Cookies

Cranberry Orange Buttermilk Cookies

Peanut Butter Snowflake Cookies

Peanut Butter Snowflake Cookies

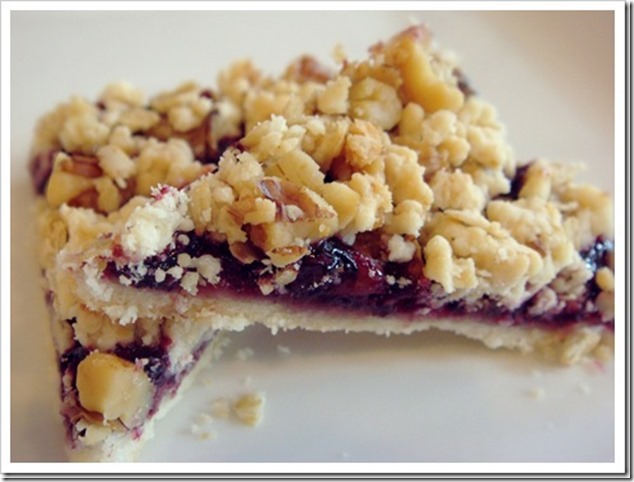
Raspberry Crumb Bars

Raspberry Crumb Bars

Christmas M&M Cookies

Christmas M&M Cookies

Rocky Road Cookies

Rocky Road Cookies

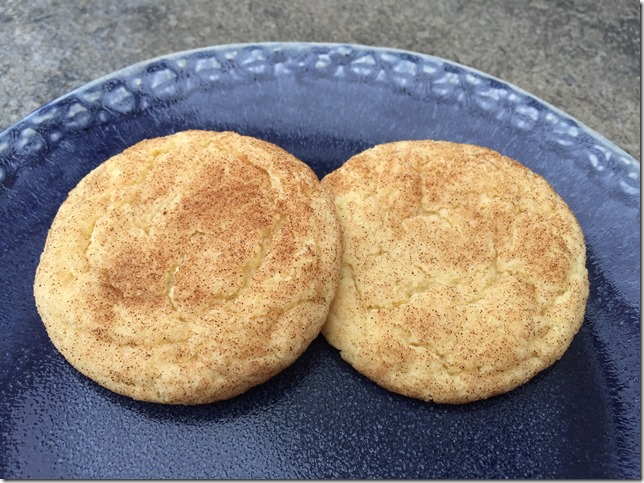
Snickerdoodles

2017-12-05 14.58.11

Almond Toffee Sandies

Almond Toffee Sandies

Caramel Pecan Bars

Caramel Pecan Bars

Chocolate Peanut Butter Swirl Cookies

Chocolate Peanut Butter Swirl Cookies

Favorite Christmas Candies:

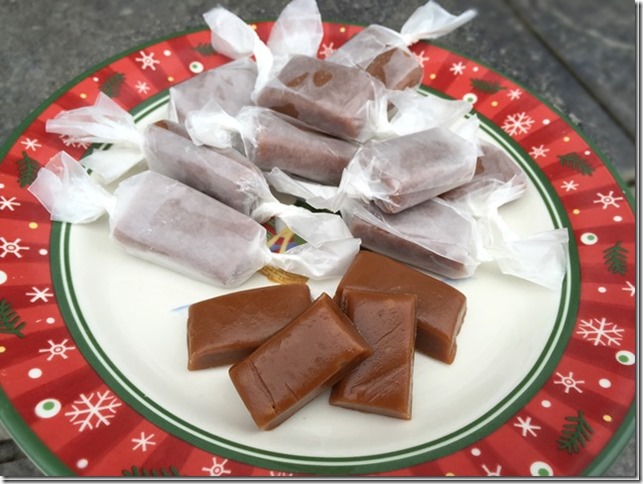
Homemade Caramels

Homemade Caramels

Chocolate Nutella Fudge

Chocolate Nutella Fudge

Turtle Pretzel Snaps

Turtle Pretzel Snaps

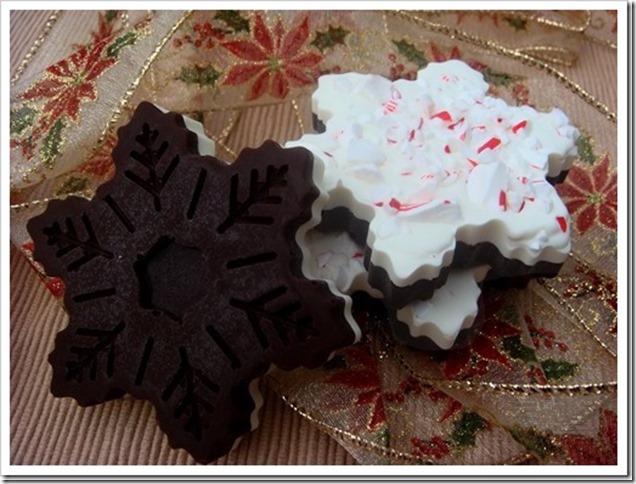
Peppermint Bark

Peppermint Bark Snowflakes

Oreo Truffles

Oreo Truffles

Christmas Caramel Chex Mix

Christmas Caramel Chex Mix

Lots More Christmas Cookies and Treats:

1st Annual Twelve Days of Christmas Cookies (2009)

2nd Annual Twelve Days of Christmas Cookies (2010)

3rd Annual Twelve Days of Christmas Cookies (2011)

4th Annual Twelve Days of Christmas Cookies (2012)

5th Annual Twelve Days of Christmas Cookies (2013)

6th Annual Twelve Days of Christmas Cookies (2014)

7th Annual Twelve Days of Christmas Cookies (2015)

8th Annual Twelve Days of Christmas Cookies (2016)

9th Annual Twelve Days of Christmas Cookies (2017)

Leave a comment

Filed under Cookies, Desserts

Top Twelve Days of Christmas Cookies Recap

After an extensive process of nominations and voting, these are the cookies that our family voted as their favorites. It is not an exhaustive list, and the voting may have been skewed by the child who hates anything chocolate. Tomorrow I will share a few Honorable Mentions and some favorite Christmas candies.

Merry Christmas and Happy Baking!

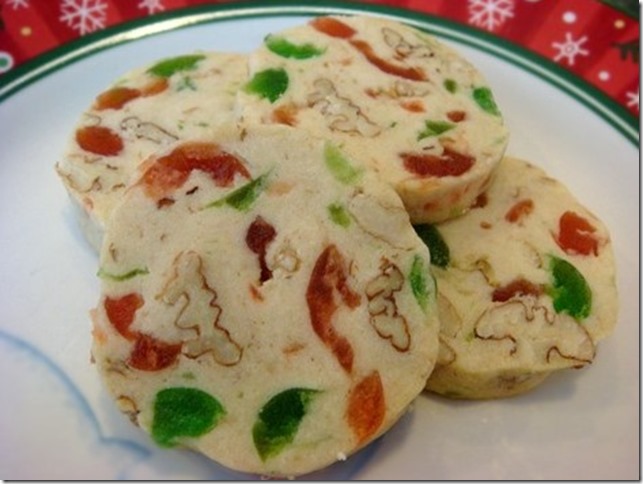
DAY 1: Christmas Cherry Pecan Cookies

Christmas Cherry Pecan Cookies

DAY 2: Lofthouse Style Soft Sugar Cookies

Lofthouse Cookies 3

DAY 3: Swedish Peppar KaKar (soft, mild gingerbread)

ninjabread-men-3

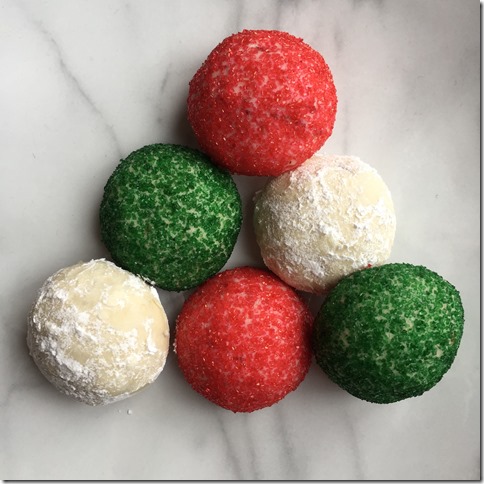
DAY 4: Russian Teacakes

Russian Tea Cakes 2

DAY 5: Sugar Cookies

Snow Capped Christmas TreesStained Glass Sugar CookiesSugar Cookies 2Sharp Edges Sugar Cookies

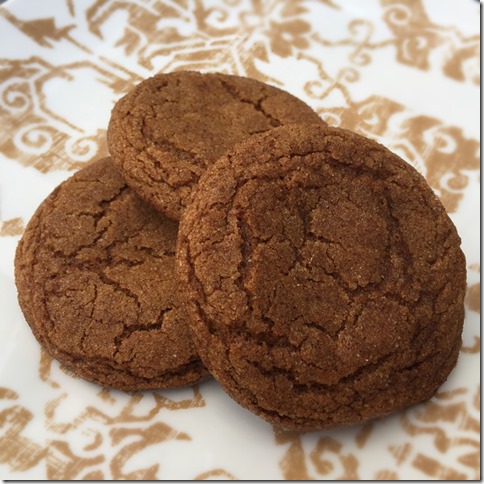
DAY 6: Chewy Molasses Cookies

Chewy Molasses Crinkles

DAY 7: Andes & Rolo Cookies

Andes and Rolo Cookies

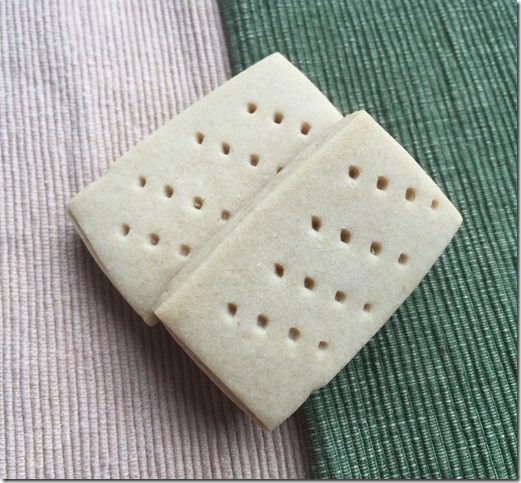
DAY 8: Scottish Shortbread

Scottish Shortbread (12)

DAY 9: Old-Fashioned Coconut Macaroons

2018-10-16 11.25.09

DAY 10: Chocolate Dipped Orange Shortbread Cookies

2018-10-11 09.57.20

DAY 11: Raspberry Almond Linzer Cookies

Raspberry Almond Linzer Cookies (7)

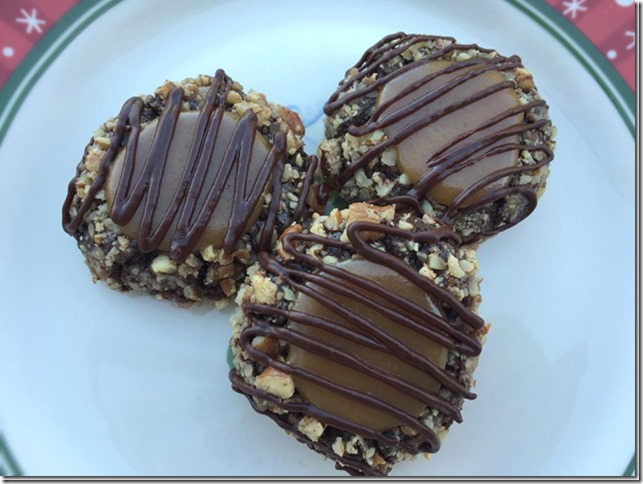
DAY 12: Chocolate Caramel Thumbprints

Chocolate Caramel Thumbprints 1


3 Comments

Filed under Cookies, Desserts

Top Twelve Days of Christmas Cookies: Chocolate Caramel Thumbprint Cookies

Chocolate Caramel Thumbprints 1

DAY 12: Chocolate Caramel Thumbprint Cookies

Four of my five children voted this cookie as their favorite all-time Christmas cookie.

I like to make these cookies with a homemade caramel filling. With a candy thermometer, the caramel filling comes together quickly and turns a good cookie into a fabulous one!

You can also make the filling with melted packaged caramels. If you want to take the “easy” route and buy a bag of Kraft Caramels, that recipe can be found HERE.

Here is my tip for getting a good deep pocket for all of that amazing caramel: Use the back of a rounded measuring spoon and press it into the center of each cookie. I use a ½ teaspoon measuring spoon on the raw cookie dough before baking:

Chocolate Caramel Thumbprints 2

Then I use  a 1 teaspoon measuring spoon on the hot, baked cookie. (The cookies do spread a little when they are baked, leaving a larger opening). This is a good alternative to actually using (and burning) your thumbs.

Chocolate Caramel Thumbprints 3

ORIGINAL BLOG POSTS:

      (2017): Chocolate Caramel Thumbprint Cookies with Homemade Caramel Filling

     (2009): Chocolate Caramel Thumbprint Cookies with Filling made from Packaged Caramels

RECIPE:

Chocolate Caramel Thumbprint Cookies

Chocolate Caramel Thumbprints 1

1 cup butter, softened
1 1/3 cups sugar
2 eggs, separated
¼ cup milk
2 tsp vanilla extract
2 cups flour
2/3 cup cocoa powder
½ tsp salt
2 cups finely chopped pecans

Homemade Caramel Filling (recipe below)

Glaze:
1 cup bittersweet chocolate chips
2 Tbs butter
2 Tbs corn syrup

Prepare Cookies: Combine butter, sugar, egg yolks, milk, and vanilla in a mixing bowl. Beat until light and fluffy. Add flour, cocoa powder, and salt. Beat until well combined. Refrigerate dough for 1 hour.

Preheat oven to 350°F. Place egg whites in a small bowl. Place finely chopped pecans in a bowl. Set aside. Roll dough into balls. Dip balls into egg white and then into pecans. (I find this easier if I make a whole baking sheet worth of dough balls, then dip them in egg/pecans). Place on a parchment paper lined baking sheet. Make a small indentation in the center of each cookie with the back of measuring spoon (I use a ½ teaspoon) or your thumb.

Bake at 350°F for 12 minutes, or until cookies are set.

While cookies are still hot, press center again (use the back of a round 1 teaspoon measuring spoon). Cool.

Prepare Caramel Filling (recipe below).
Spoon small amount of warm caramel into centers of baked cookies. Carefully remove cookies to a wire rack to cool.

Prepare Chocolate Glaze: Combine bittersweet chips, butter, and corn syrup in a small bowl. Microwave for 30 seconds. Stir. Microwave for another 20-30 seconds if not melted. Let cool slightly. Pour chocolate into a small Ziploc freezer bag. Poke a hole in the corner of the bag (a bamboo skewer makes a perfect sized hole). Drizzle chocolate over the cooled cookies. Cool until set.

To store: refrigerate or freeze cookies in individual layers; then store between layers of waxed paper in the refrigerator or freezer. They can also be stored at room temperature, but if you stack them, they will stick together.


Homemade Caramel Filling

1 cup unsalted butter
1 can sweetened condensed milk
2 cups brown sugar (light or dark)
1 cup light corn syrup
2 Tbs heavy cream
2 tsp vanilla extract
½ tsp sea salt

Combine butter, sweetened condensed milk, brown sugar, corn syrup, and heavy cream in a large saucepan. Bring to a boil over medium heat. Place a candy thermometer on the side of the pan. Reduce heat to medium low, maintaining a low but continuous simmer, until caramel reaches 235°F (soft ball stage), stirring occasionally. This will take about 20 minutes. Remove from heat and stir in vanilla and salt.

NoEmptyChairs.me

1 Comment

Filed under Cookies, Desserts